Introduction
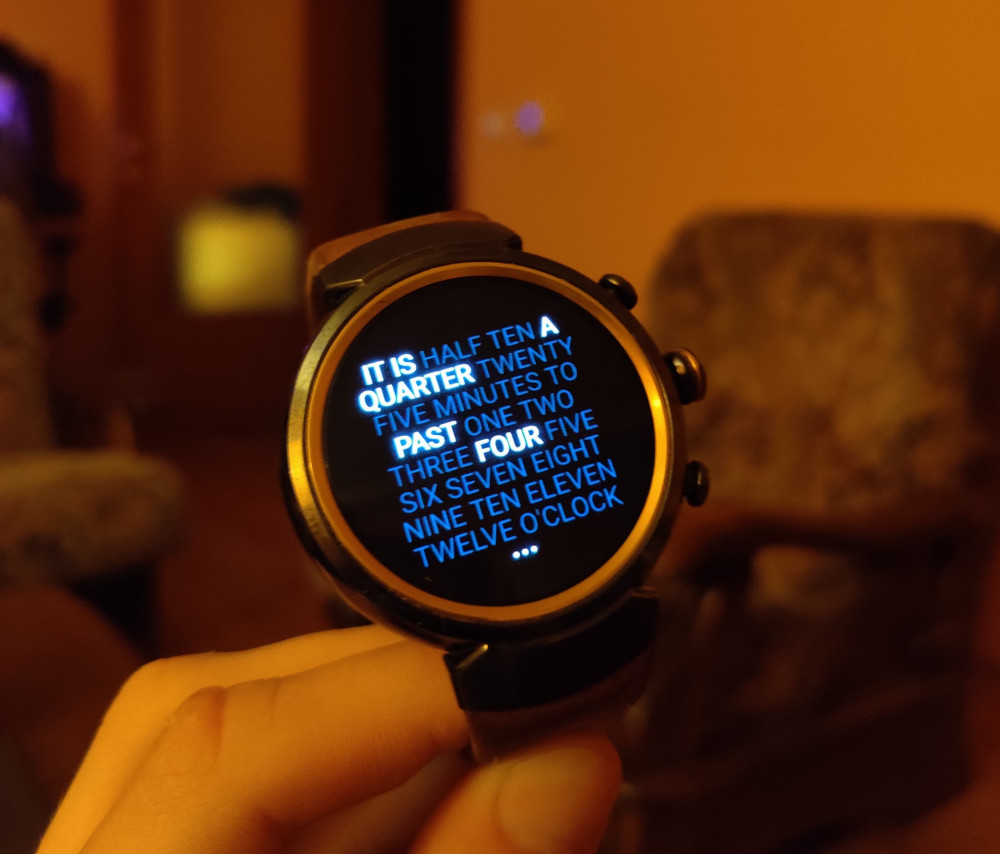
Zenwatch 3 is Asus’s highly fashionable and fancy Android wear watch. Despite being beautifully designed, Asus really messed up with it’s software. The old software hasn’t been updated for quite a long time. Not only the updates are issuing, but also the battery draining on a stock software package. It’s time to do something about it, wouldn’t you say ?
Bootloader
What’s a bootloader, you ask ?
We all know that Android uses partioning, so there’s a dedicated partition for system, cache, recovery image etc..
Bootloader is a security gate and manager for those same partitions.
Since it’s a security gate, it is locked by default and needs to be unlocked to modify the zenwatch’s system.
Prerequisites
- ADB and Fastboot installed
- Files from repository
Unlocking bootloader
To be able to unlock the bootloader, that option first needs to be enabled in development settings by a following way:
- Open settings in OS
- Scroll all the way down to About section and tap it
- Scroll down until you see build number, tap on it 7 times
- You should get a message that you are becoming a developer
- Swipe back, under about should be a new option called Developer options
- Tap on developer options
- Find OEM Unlock and allow it
Now that OEM unlocking is enabled, it’s time to actually do it.
Make sure the watch is charged, this is going to factory reset it.
- Turn off the watch
- Hold upper button and power on button until fastboot pops up

- Connect the USB
- Launch the following command from command prompt
Confirm the following action on the watch and wait until it resets and boots back.fastboot oem unlock
Flashing
Next step would be flashing TWRP recovery and installing modded files.
To flash TWRP, put the Zenwatch in fastboot mode again.
Launch a command prompt in a directory that contains files downloaded from the repository
fastboot flash recovery_swift-3.1.0-0.imgThis will flash the recovery image onto the recovery partition. Now boot that same image using the following command:
fastboot boot recovery_swift-3.1.0-0.imgIt will take a minute, after that TWRP will show on the screen. Grant it the write permission by moving the slider to the right side.
Choosing the right path
I would recommend doing a full mod. Why ?
Flashing odexed system = This will upgrade you to Android Wear 2.x, which has introduced new features and design. Odexed means that system apps are optimized for faster running.
Flashing custom kernel = Enabling advanced options for the CPU, like changing profiles, frequencies etc.
Rooting = Giving a kernel auditor app access to kernel’s settings
Transfer the downloaded zip’s using a file manager or an ADB push command.
adb push *.zip /sdcard/
/sdcard/ is default internal storage mount point
In TWRP head on to install button in the upper left corner and flash the zips in the following order:
- Install Wear2.0-Odexed.zip
- Reboot
- Head back into recovery (turn off the watch, lower button + power on)
- Install Kernel-08_2018.zip
- Repeat step 2 and 3
- Install Root.zip
Everything should be ready now, reboot back into system.
Configure and connect the watch by following a first time setup guide. Now that you’re on a home screen, there should be no watch face installed, so don’t get scared.
Head back into settings, enable the developer settings again and ADB debugging.
Underclocking CPU
Point of underclocking CPU is to save battery power without affecting the noticeable performance of the watch. Pop up a console in a same directory with the KernelAudiutor4Wear.apk
adb install KernelAudiutor4Wear.apkThis will install the apk from your PC’s storage. If it is located on watch’s storage, add -s argument
Done? Now head into main menu and launch the kernel auditor. Grant it a root permission.
- Tap top left corner to open up menu
- Select CPU under Kernel category
- Tap apply on boot
- Scroll down until you see CPU governor
- Tap on CPU governor and select powersave

Donzo! Wasn’t that hard, was it ?
Now you can customize anything you imagine on the watch.
Looking for custom watch faces? I’d personally recommend Pujie Black.
Thanks for reading!
