Introduction
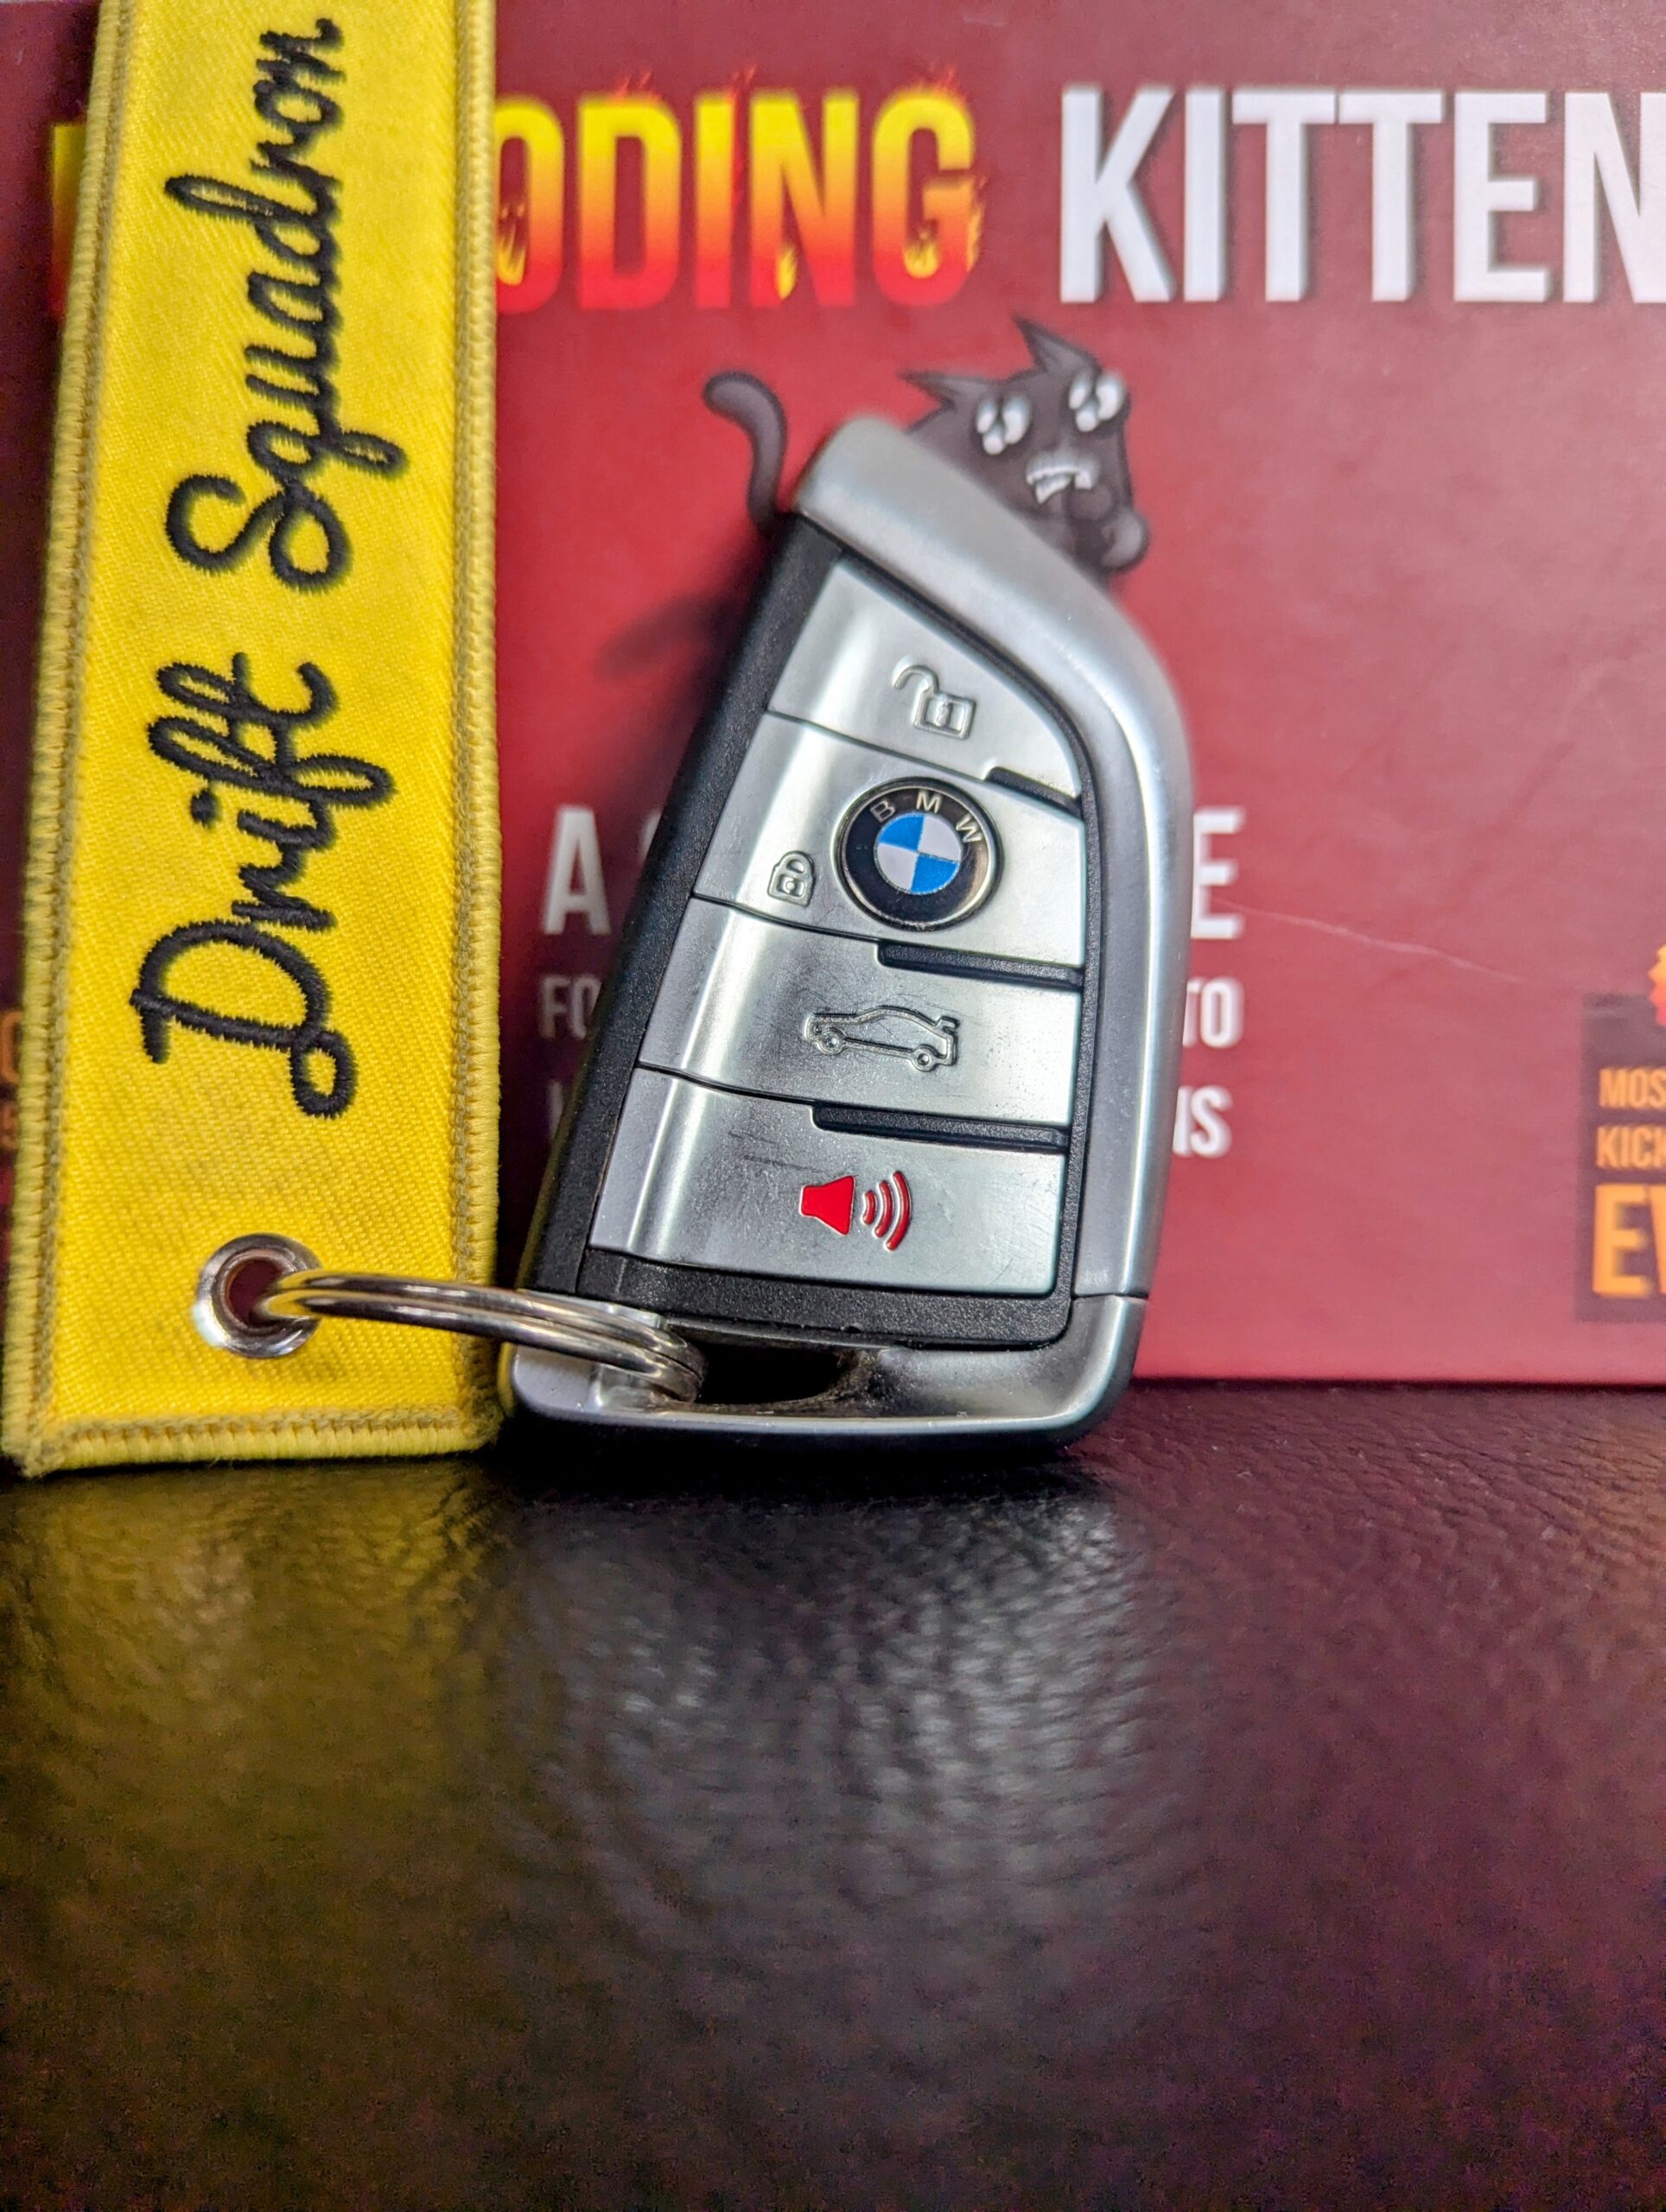
If you’ve ever faced the daunting cost of replacing a BMW key, you know it can be an expensive and frustrating ordeal. BMW dealers often quote over $500 for a new key, which often feels unjustifiable for a piece of plastic. Seeking a more modern key design for my F series BMW, I discovered a cost-effective way to retrofit a G series key to my car without the need for expensive programming or specialized equipment. Additionally, I will guide you on how to code the 4th button on your key for a panic alarm function.
The Retrofit Process
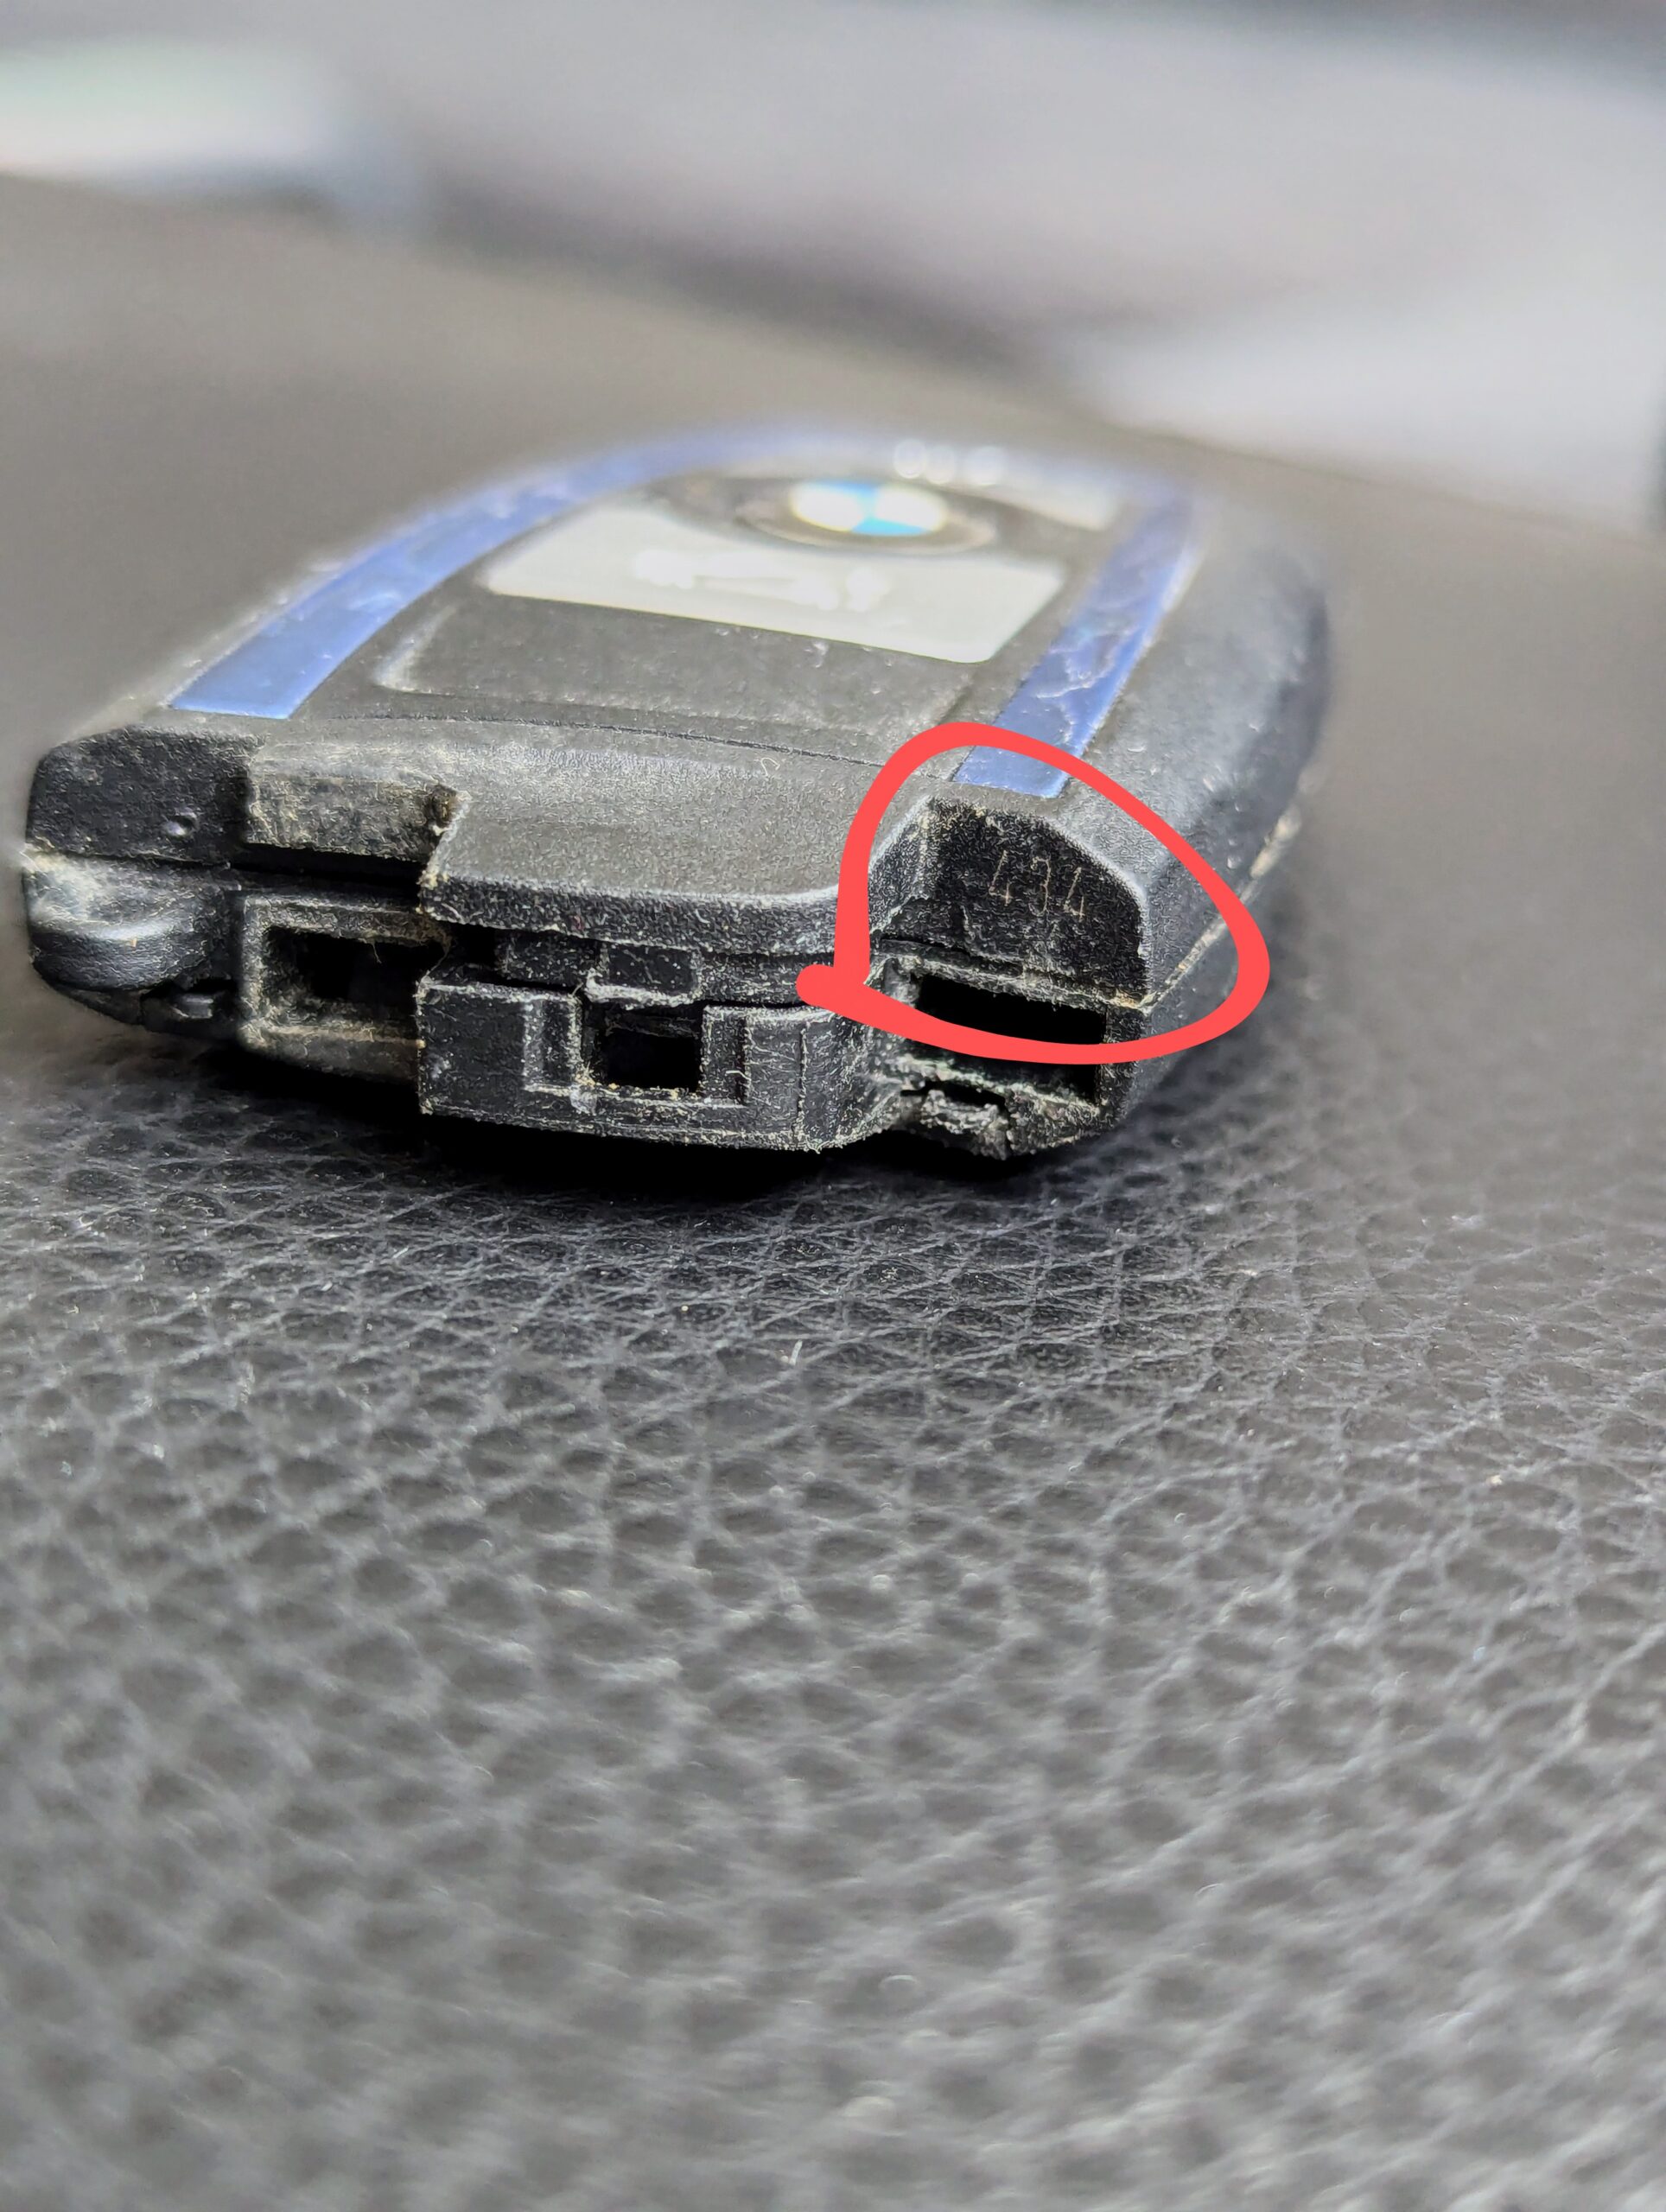
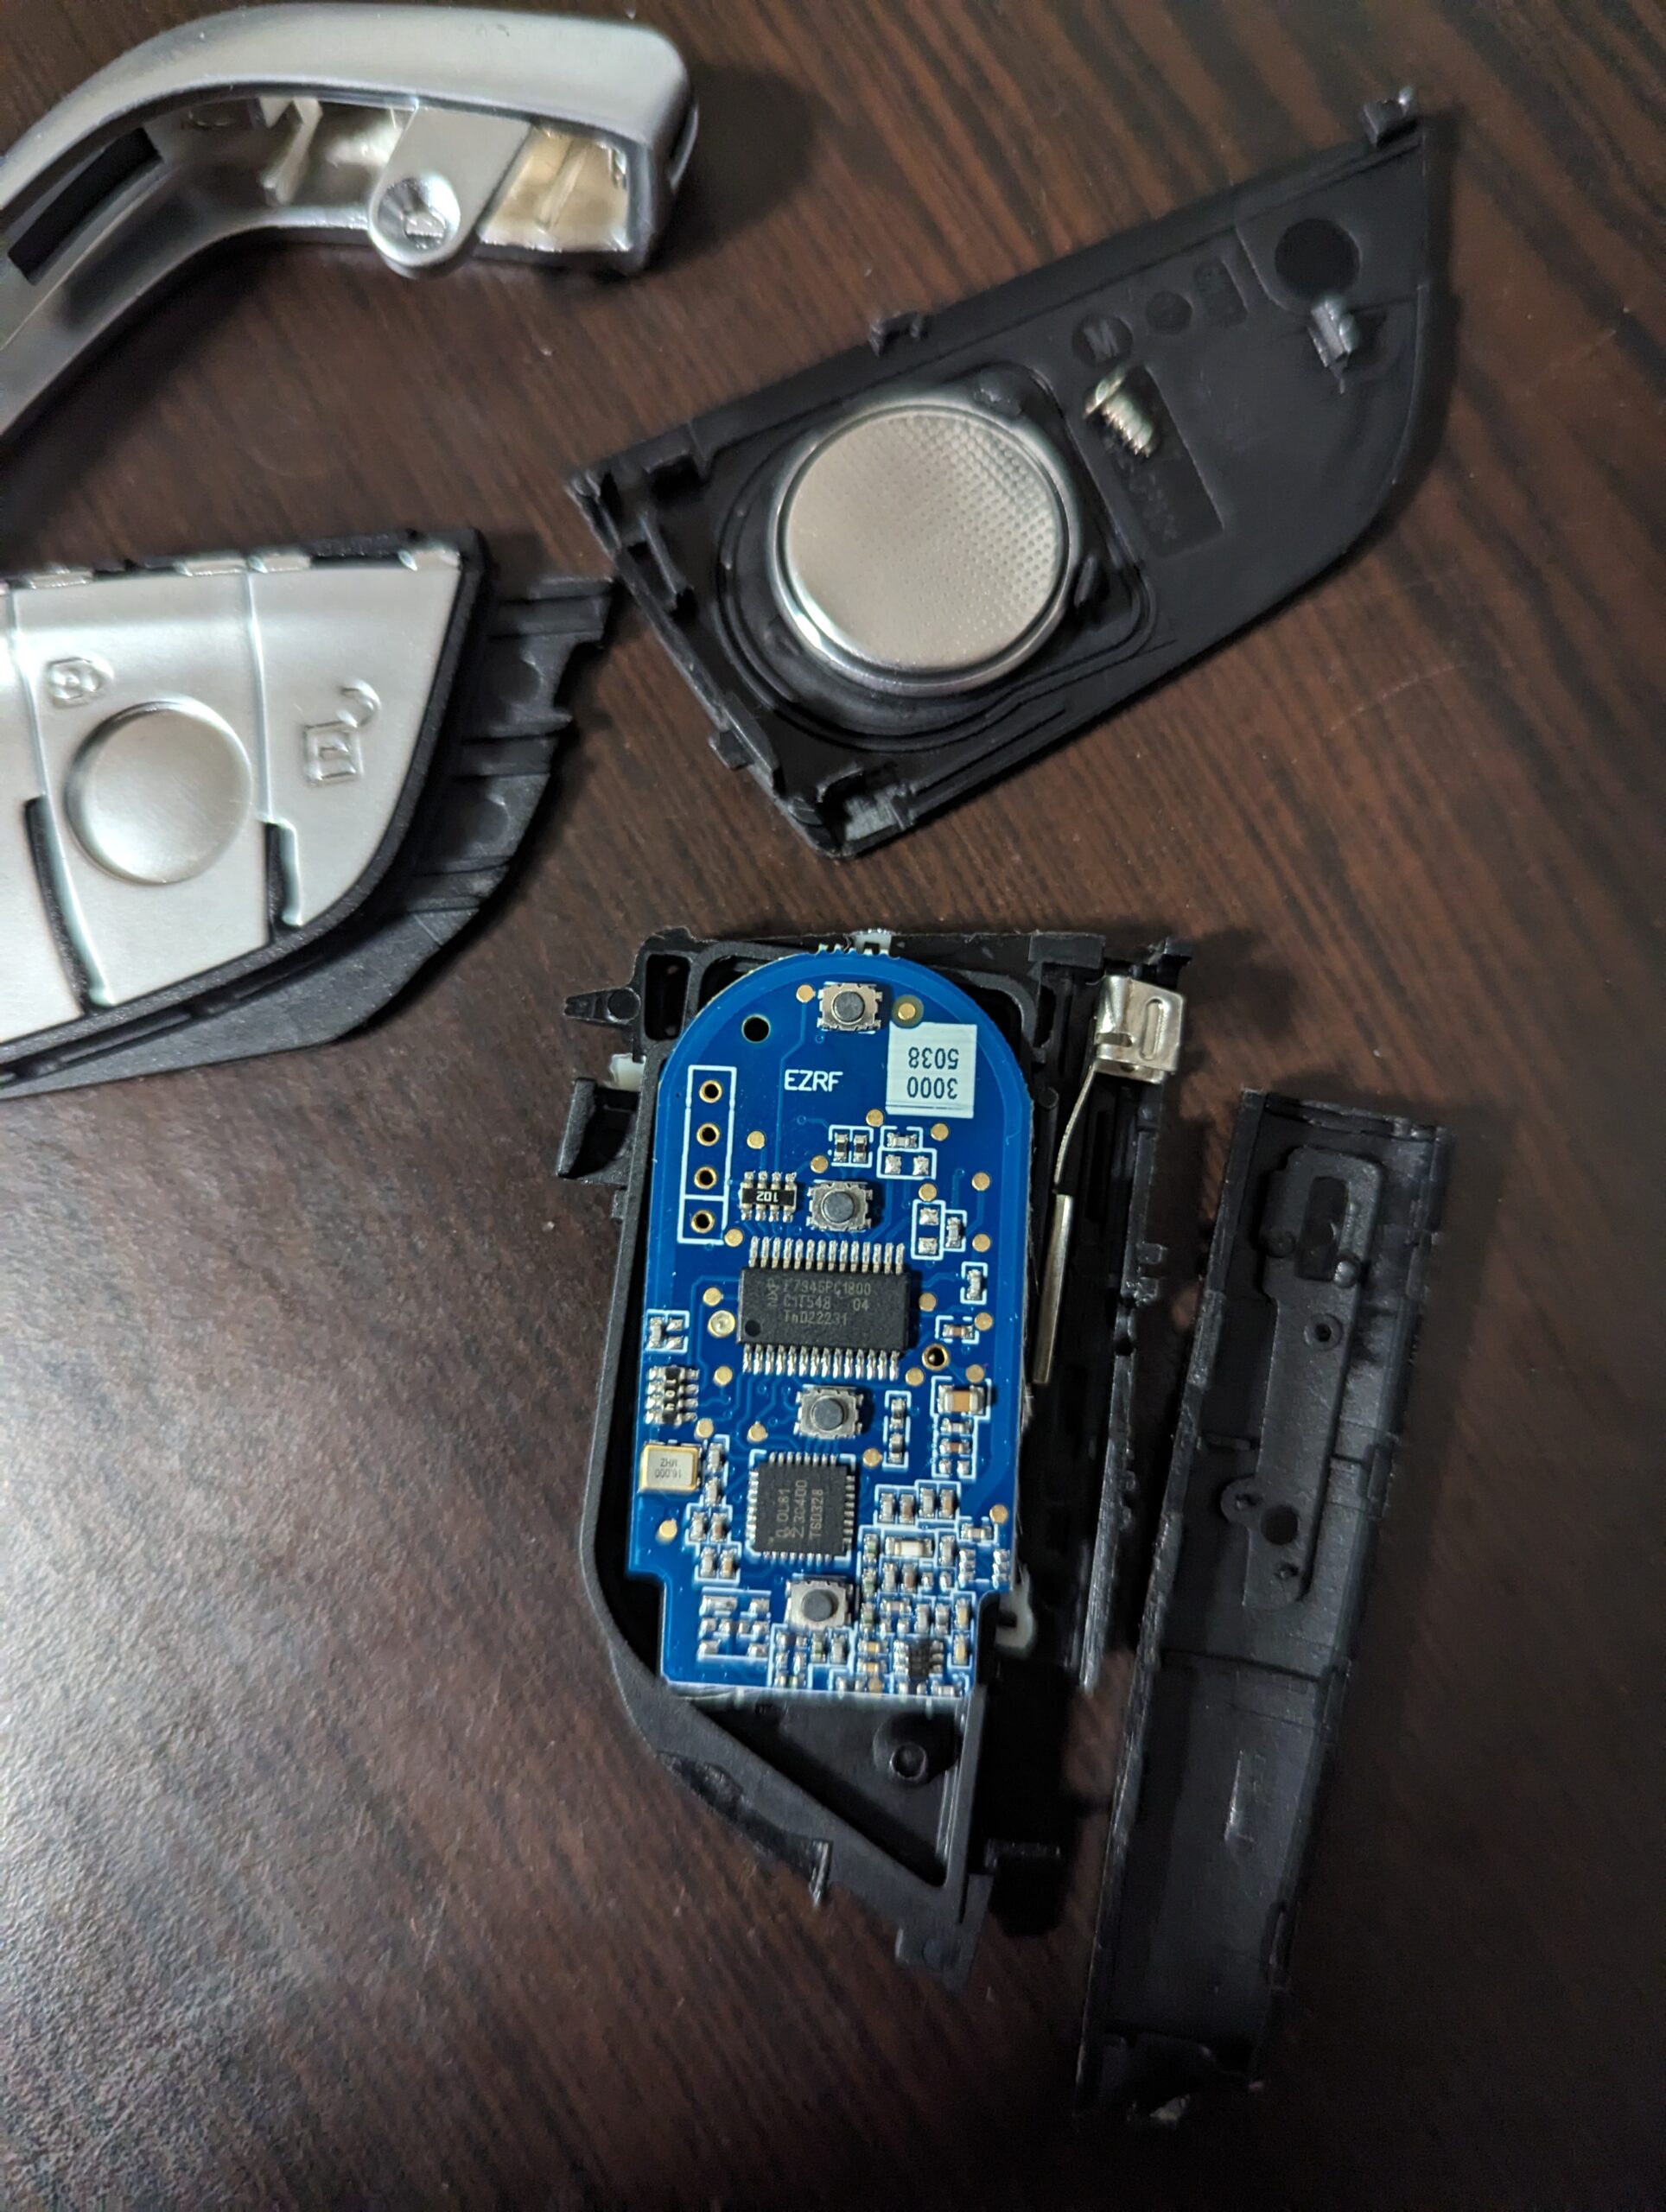
My original key had a 434MHz PCF7945 board for CAS4 FEM. The key to success is matching the board in your original key with the new one. I purchased a key designed to mimic my original board, ensuring the chips with the ECU’s programming would be identical.

Here’s the step-by-step process:
- Identify Your Key’s Board
- Use an OEM parts site to find your key’s board specifications. Look for PCFxxxx. For example, mine was PCF7945.
- Depending on your car’s CAS (Car Access System), the key might operate on 868MHz, 315MHz, or 434MHz. The frequency can be found under the physical key slot of your old key fob.
- Ensure the new key you purchase matches this frequency.
- Purchase the Right Key
- You need a key designed for converting your old BMW key style to the blade key style. Ensure the listing specifies it’s for this conversion.
- Make sure the key is advertised to fit your specific BMW model and year. The correct key will have the same internal board design (e.g., PCF7945 for my model).
- Verify the Chips and Frequency
- The chips on both boards must match exactly. The radio frequency should also be identical. The numbers on the chip should be the same as those on your old key’s chip.
- In my case, the only difference was the last digit due to a panic button, which did not affect functionality.
- Micro Soldering
- Visit a cell phone repair shop or a professional offering micro soldering. The process involves swapping the chip from your old key’s board to the new G series key’s board.
- The new key’s black board replaced the board from my old key. Ensure the dot on the chip is in the same spot on the new board.
- This requires precision, so ensure the technician has experience with micro soldering.
- Replace both marked chips from the old board to the new board

- Check the Battery
- The new key’s battery might be weak. Replace it before you perform the swap to avoid issues.
- Use a high-quality battery to ensure long-term reliability.
- Reassemble and Test
- Carefully reassemble the key, ensuring all parts are securely in place.
- Test the new key in your car to ensure it works correctly. Check for all functions including locking/unlocking, starting the car, and any additional features like the panic button if applicable.
Coding the 4th Button for Panic Alarm
To enhance the functionality of your new key, you can code the 4th button to act as a panic alarm. Here’s how to do it:
- Step 1: FEM Coding
- Navigate to
FEMmodule. - Go to
3000. - Set
RC_DEFAULT_IDG_4TH_BUTTON_LONGtowert_03.
- Navigate to
- Step 2: Enable 4th Button for Panic Alarm
- Navigate to
FEMmodule. - Go to
3000. - Set
RC_4_BUTTON_SPFNtoaktiv.
- Navigate to
- Step 3: Enable Panic Alarm
- Navigate to
FEMmodule. - Go to
3000. - Set
RC_PANIC_ALARMtoaktiv.
- Navigate to
- Step 4: Set Panic Alarm Delay
- Navigate to
FEMmodule. - Go to
3000. - Set
RC_TIME_DELAY_PANICtowert_00.
- Navigate to
- Step 5: Roof Function Center (FZD) Coding
- Navigate to
FZD(Roof Function Center) module. - Go to
3002. - Set
Panikalarmtoaktiv.
- Navigate to
- Step 6: Set 4th Button Short Click
- Navigate to
FEMmodule. - Go to
3000. - Set
RC_DEFAULT_IDG_4TH_BUTTON_SHORTto desired function.
- Navigate to
- Optional: Set 4th Button for Follow Me Home Function
- Navigate to
CASmodule. - Go to
3002. - Set
REMOTE_KEY_SPECIAL_FCTtoaktivornicht_aktivfor Follow Me Home on short press of the 4th button.
- Navigate to
Important Notes
- Chip Matching: Ensure the chip numbers on the new board match your old board. This is crucial for the key to work correctly.
- Cutting the Old Key: You’ll need to cut open your old key to access the board, but this is a minor inconvenience compared to the benefits.
- DIY Risk: This method worked for my specific key, but results may vary. Make sure to match the chips and frequencies accurately.
Conclusion
For a total cost of $100, I successfully retrofitted a G series key to my F series BMW. The process was straightforward and significantly cheaper than getting a new key from BMW. The key works perfectly without any need for programming, and the only tool required was micro soldering expertise. Additionally, coding the 4th button to act as a panic alarm has added an extra layer of functionality and security to my car key.
By sharing my experience, I hope to help others save money and achieve the same success with their BMW key retrofit.
